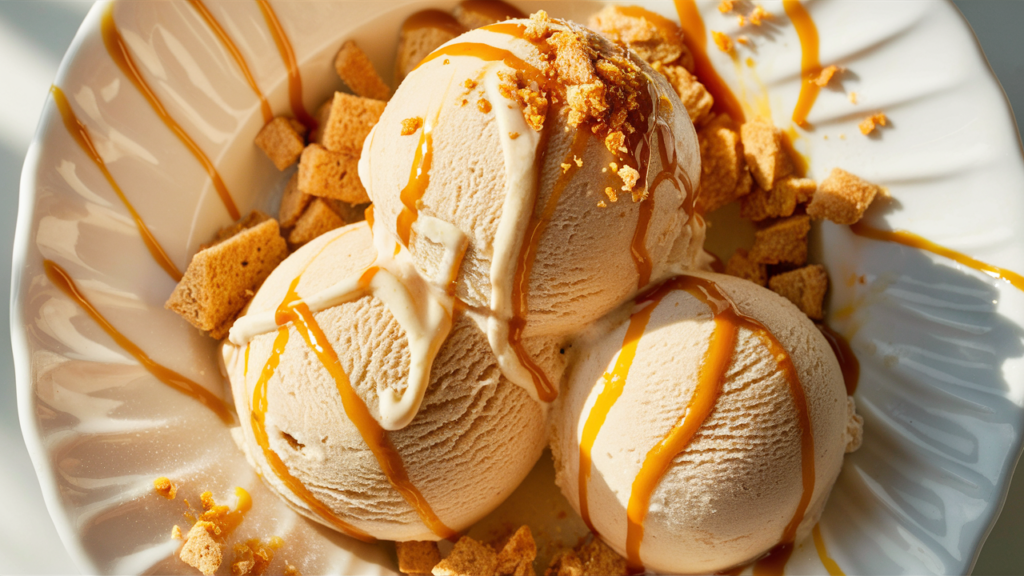
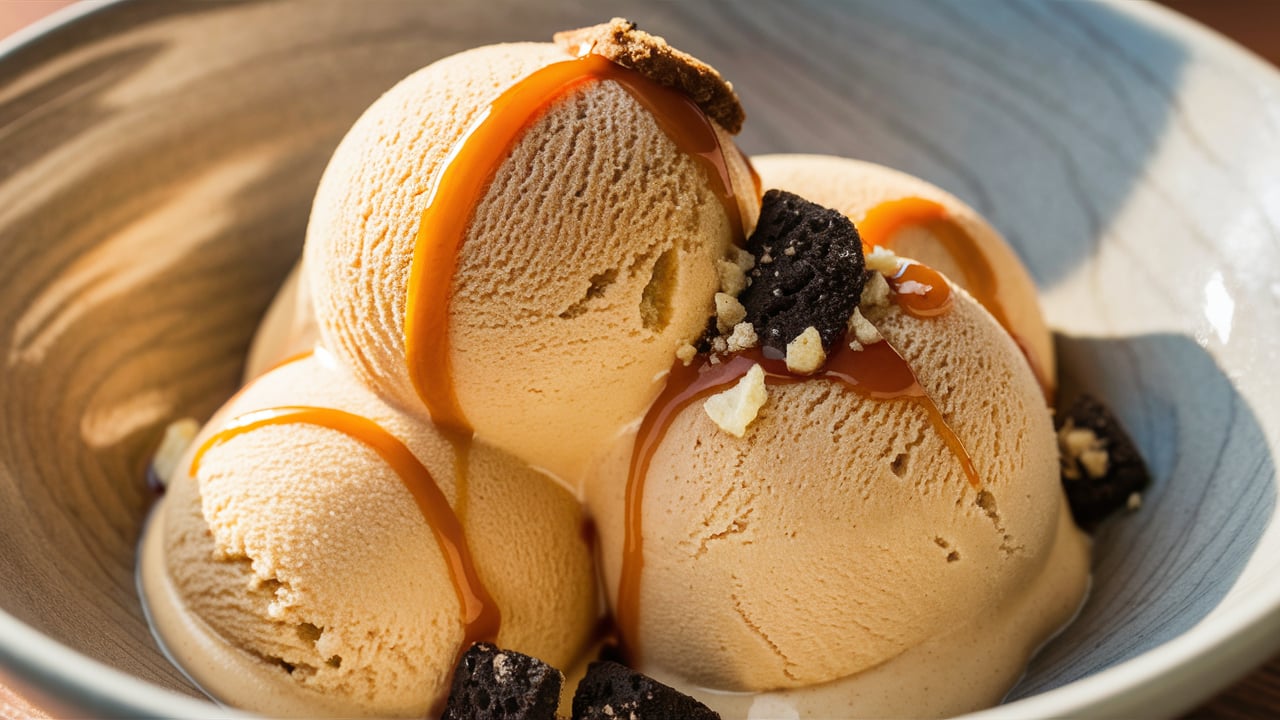
Craving a dessert that’s both nostalgic and refreshing? Look no further than banana pudding ice cream. This delightful combination of creamy banana flavors with the coolness of ice cream is sure to become a favorite. Whether you’re hosting a summer party, looking for a new dessert to impress guests, or simply wanting to enjoy a treat at home, this ice cream is a must-try. This guide will walk you through every step, providing tips, variations, and everything you need to know to make this delicious dessert.
Table of Contents
- Introduction to Banana Pudding Ice Cream
- Essential Ingredients for Banana Pudding Dessert
- Required Equipment for Banana Ice Cream
- Step-by-Step Instructions for Homemade Ice Cream
- Preparing the Bananas for Banana Pudding Ice Cream
- Whipping the Cream for Ice Cream
- Combining Ingredients for Banana Pudding
- Adding the Mix-Ins: Bananas and Vanilla Wafers
- Freezing the No-Churn Banana Pudding Ice Cream
- Serving Suggestions for Banana Dessert
- Tips for Success with Banana Ice Cream
- Customizing Your Banana Pudding Ice Cream
- Dairy-Free Option for Banana Pudding Ice Cream
- Gluten-Free Version of Banana Pudding Ice Cream
- Additional Mix-Ins for Banana Pudding Ice Cream
- Storage and Shelf Life of Banana Pudding Ice Cream
- Troubleshooting Common Issues in Banana Pudding Ice Cream
- Nutritional Information for Banana Pudding Ice Cream
- A Brief History of Banana Pudding
- Conclusion: Why This Banana Pudding Ice Cream Recipe is a Must-Try
- FAQs About Banana Pudding Ice Cream
1. Introduction to Banana Pudding Ice Cream
Banana pudding has been a beloved dessert for decades, particularly in the Southern United States. Its layers of creamy pudding, ripe bananas, and crunchy vanilla wafers make it a comforting and delicious treat. But what happens when you combine it with ice cream? You get a dessert that’s not only creamy and flavorful but also perfect for hot summer days. This recipe brings together the best of both worlds, offering the richness of ice cream with the classic taste of banana pudding.
This recipe is designed to be simple and accessible, requiring no special equipment like an ice cream maker. With just a few ingredients and some patience, you can create a dessert that’s sure to impress.
2. Essential Ingredients for Banana Pudding Dessert
To create this ice cream, you’ll need the following ingredients:
- Ripe Bananas (2): Use bananas that are yellow with brown spots. They offer the perfect balance of sweetness and flavor.
- Heavy Cream (1 cup): Full-fat cream is essential for achieving a rich and creamy texture.
- Sweetened Condensed Milk (14 oz): This adds both sweetness and a silky texture to the ice cream.
- Vanilla Extract (1 tsp): A little vanilla enhances all the flavors in the recipe.
- Vanilla Wafers (1 cup): Crushed vanilla wafers add that classic crunch.
- Banana Pudding Mix (½ cup): Optional, but it intensifies the banana flavor.
- Pinch of Salt: Balances the sweetness.
These ingredients come together to create a smooth, creamy, and flavorful dessert.
3. Required Equipment for Banana Ice Cream
You don’t need an ice cream maker to create this delicious dessert. Here’s what you’ll need:
- Mixing Bowls: For combining the various ingredients.
- Hand Mixer or Stand Mixer: To whip the cream to stiff peaks, which is crucial for the texture of the ice cream.
- Spatula: For gently folding the ingredients together.
- Loaf Pan or Freezer-Safe Container: To freeze the ice cream.
- Plastic Wrap: To cover the ice cream and prevent ice crystals from forming.
With just a few basic kitchen tools, you can create a dessert that rivals anything you’d find in a store.
4. Step-by-Step Instructions for Homemade Ice Cream
Step 1: Preparing the Bananas for Banana Pudding Ice Cream
Start by peeling and mashing the ripe bananas in a bowl. You want them to be smooth, so use a fork or a blender for consistency. The key here is to avoid over-mashing, which can result in a watery texture.
Step 2: Whipping the Cream for Ice Cream
In a large mixing bowl, whip the heavy cream until stiff peaks form. This is critical for a light and airy texture. Use a hand mixer or stand mixer on high speed, but be careful not to overwhip, as that can turn your cream into butter.
Step 3: Combining Ingredients for Banana Pudding
In another bowl, mix the sweetened condensed milk, vanilla extract, and banana pudding mix (if using). Fold this mixture into the whipped cream, being careful to keep the mixture light and fluffy.
Step 4: Adding the Mix-Ins: Bananas and Vanilla Wafers
Gently fold in the mashed bananas and crushed vanilla wafers. Ensure the wafers are evenly distributed for that perfect crunch in every bite.
Step 5: Freezing the No-Churn Banana Pudding Ice Cream
Pour the mixture into a loaf pan or freezer-safe container. Smooth the top and cover with plastic wrap, pressing it directly onto the surface to prevent ice crystals. Freeze for at least 4-6 hours, or until firm.
Step 6: Serving Suggestions for Banana Dessert
When you’re ready to serve, let the ice cream sit at room temperature for a few minutes to soften slightly. Scoop into bowls and garnish with banana slices and extra vanilla wafers for a beautiful presentation.

5. Tips for Success with Banana Ice Cream
- Use the Right Bananas: Choose bananas that are ripe but not overly so. Overripe bananas can be too mushy and overly sweet.
- Don’t Overmix: Be gentle when folding in the ingredients to keep the mixture light and airy.
- Allow Time to Freeze: Make sure the ice cream is fully frozen before serving for the best texture.
6. Customizing Your Banana Pudding Ice Cream
Dairy-Free Option for Banana`s Pudding Ice Cream
For those who are lactose intolerant or prefer a dairy-free option, substitute the heavy cream with coconut cream and use sweetened condensed coconut milk. The result is just as creamy and delicious, with a slight coconut flavor.
Gluten-Free Version of Banana`s Pudding Ice Cream
If you’re avoiding gluten, simply replace the vanilla wafers with a gluten-free version. The texture and flavor will still be spot-on.
Additional Mix-Ins for Banana Pudding Ice Cream
Feel free to get creative with your ice cream. Add caramel swirls, chocolate chips, or chopped nuts for added flavor and texture. You can even try swirling in peanut butter for a banana-peanut butter twist.
7. Storage and Shelf Life of Banana`s Pudding Ice Cream
Homemade ice cream doesn’t contain the preservatives that store-bought varieties do, so it’s best enjoyed within two weeks. Here’s how to store it for maximum freshness:
- Airtight Container: Transfer the ice cream to a container with a tight-fitting lid to prevent freezer burn.
- Prevent Ice Crystals: Press a sheet of plastic wrap directly onto the surface of the ice cream before sealing the container.
- Soften Before Serving: Let the ice cream sit at room temperature for a few minutes before scooping.
By following these storage tips, you can enjoy your ice cream at its best, even days after making it.
8. Troubleshooting Common Issues in Banana`s Pudding Ice Cream
Even with the best intentions, things don’t always go as planned. Here are some common issues and how to fix them:
- Ice Cream is Too Icy: Ensure you’re using full-fat ingredients, as lower-fat alternatives can lead to a less creamy texture.
- Ice Crystals Forming: Press plastic wrap directly onto the surface of the ice cream before freezing to prevent ice crystals.
- Bananas Browning: Freezing should prevent browning, but if this happens, try lightly coating the banana slices in lemon juice before adding them to the mixture.
9. Nutritional Information for Banana`s Pudding Ice Cream
Here’s a basic nutritional breakdown for a serving of this dessert:
- Calories: 351 kcal
- Fat: 24 g
- Carbohydrates: 30 g
- Protein: 5 g
- Fiber: 1 g
- Sodium: 115 mg
- Potassium: 324 mg
This ice cream is rich and indulgent, so enjoy it as a special treat.
10. A Brief History of Banana Pudding
Banana pudding originated in the Southern United States and has been a beloved dessert for generations. Traditionally made with layers of vanilla pudding, bananas, and vanilla wafers, it’s often topped with whipped cream or meringue. The combination of creamy, fruity, and crunchy textures makes it a hit at gatherings and potlucks.
This ice cream takes this classic dessert and transforms it into something new and exciting. By freezing the flavors of banana pudding into a creamy dessert, you get all the comfort of the original dish with the added refreshment of ice cream.
11. Conclusion: Why This Banana Pudding Ice Cream Recipe is a Must-Try
Banana`s pudding ice cream is the perfect blend of nostalgia and innovation. It’s easy to make, requires no special equipment, and delivers a creamy, flavorful dessert that’s sure to impress

